
For the past year or so, I've been using Laura Mercier mineral foundation. I used to have oily, acne prone skin in high school, and my mom always bought me MAC liquid foundation. But I figured out the liquid was clogging up my pores and making me even more acne prone, so I switched to mineral foundation. That has worked well for me the past few years. However, I wanted to attempt to switch back to liquid just to see how it would feel now that I'm an adult and my skin has changed.
I made a trip to Target and got a few things. First, I started with Maybelline Dream Liquid Mousse.
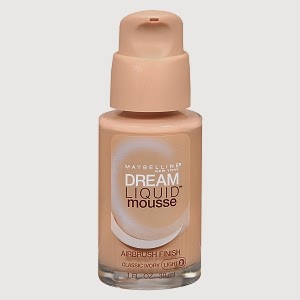
I had read some good things about this foundation and I was hoping it would live up to the hype. I tried it out as soon as I got home, and I was pleasantly surprised. It goes on smoothly and if you apply it right (more on that below), it doesn't look cakey. For my oil-prone skin, I set it with a bit of powder I already had on hand (Bare Minerals finishing powder). To get an even better finish, I use Burts Bees toner, Aveeno moisturizer, and E.L.F. face primer. These all really help the foundation not to streak or add too much buildup.
To apply the foundation, I also bought the E.L.F. Small Stippling Brush.

I also wanted to try my hand at contouring, so I bought Maybelline SuperStay Concealer:

I've read that they key to this is to use a concealer that is two shades darker than your natural. I went with one just a bit darker than my skin tone, as I don't want to be super dramatic. I just wanted to see if I could create some definition. I still need to try again, but the first time I did it, I felt like I could see a difference! I think I may add more the second time around. To apply, I felt where my cheekbones were with my fingers, then added three dots of concealer right below. I blended that in a line and made sure it didn't get smeared all over my cheeks. Then I added blush on the apples of my cheeks to finish.
I would definitely recommended these three products to anyone who is looking to try new makeup without breaking the bank. I have long believed that because a product cost more, it is better quality. For some things, this is true. But the makeup industry has come a long way in terms of quality, and I think there are some great options out there for $7 that work just as well as $25.
Happy makeup-ing!
* all images via google.
No comments:
Post a Comment